The thing with Koreans is that they are just damn too cute and we can't help but love and admire them from their heartwarming dramas down to their high-end fashion trend.
I'll start off with the new Korean drama, City Hunter. One word, ecstatic! I love Lee Min Hyu if I spelled it correctly, popularly known as Gu Jun Pyu from his previous drama, F4. Who wouldn't, he looks good for me and is cute. He is cuter in City Hunter than F4.
Next is the leading lady. Though it would be expected that most will hate the girl because of the "caribal" stuff with Lee Min Hyu, I didn't because she is cute too. I mean I like the way she dresses and everything seems to be perfect in her.
Then, last their trends. I haven't posted pics of the guy since I'll be talking more with the girl trend.hehe But anyway just for additional information. City Hunter a.k.a. Lee Min Hyu is I guess the first detective, stunt, action star or whatever to be fashionista at heart as well. You could tell it by the different colors of his jeans.
Now getting to the main topic, the Kim Nana Headband Craze. This headband has been already out before City Hunter even started. The headbands seemed to be weird since instead of wearing it as headband, they wear it like a crown (I don't exactly know how to describe it). But it was just lately when the ribbon effect turned into a craze everytime Kim Nana wears it as a daily accessory paired with her cute pajamas. Just look below.
And because I can't get enough with it by just watching the movie, I've gone to malls just to look for it. Luckily, I've found one. It's not exactly the same with Kim Nana's becasue hers is like a band that really encircles the head. What I found was the typical one well it was just too perfect, almost the exact replica.
After I bought it, I didn't wait to arrive home to finally wear it instead I went straight to the comfort room, opened the plastic and wear it. I even took a pic. Take a look at.
By the time I arrived home, still I was the whole time making poses with the headband.
Just out of the blue, I decided to put our pics together. Well, not to show some similarities because obviously there are none but the Kim Nana Headband Craze.hehe
Showing posts with label accessories. Show all posts
Showing posts with label accessories. Show all posts
Sunday, February 19, 2012
Day 21: Kim Nana Headband Craze
Categories
92 Days Solo Flight,
accessories,
fashion,
girls shop savers
Wednesday, October 5, 2011
Black Peacock Feather Earrings
Feather Earrings are not anymore a stranger knocking on our eyes but has already been an acquaintance waiting to be greeted. Hope I am not that late for it is only now have I truly appreciated its beauty and the creativity still with the weirdness part. But I guess it is more of the feather accessories popularity since it does not only limit itself to earrings. It's fame stretches to a feather hair extension, feather necklace, feather headband and we can never tell what else might be available as long as it is feathery now you're in.
But you know what it is just perfect for my asymmetrical hair balancing it by wearing only one at the shorter side of hair.haha Because as I have seen from a couple of Hollywood or our very own stars, they mostly likely wear only one earring, the longer one. Or yet I am going to wear it at the longer side of my hair so to mimic its exposure with a camouflage effect of my hair.haha lols. Whatever. Soon, I'll just give you a shock because the next post may be probably a picture of me wearing this pair of feather earrings.
Categories
accessories,
Feather Earrings
Sunday, September 4, 2011
DIY: braided belt!
Vintage look and stuffs have been dominating in the fashion world nowadays. And for every piece you have, there will always be that signature braided belt right? Like these?
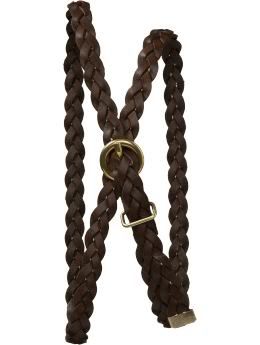
These could complete your high-waist bottoms, scallop shorts, vintage dress or that huge body tunic. But you don't wanna look like a second rate copy cat following the girls out there. So, I got something for you. To have that personal touch, let's have a DIY session. Aren't you excited?
Well, I actually come up with DIYs stuffs during "cant-afford-pieces" times which just only proves that you have no excuse of owning that "cant-afford-piece" when you can actually make one for your own. From a 150php belt it, make one for only 53php.
Now here's what you need"
1. A 6-inches long cord (preferably the thickest). It's similar with the ones used for kidada wraps but just thicker. The cord cost 8.75php (I think.) per meter so multiply it by 6.
2. A buckle costing for 2php only. (I used the one that has no closure. I am not actually familiar with the term.)
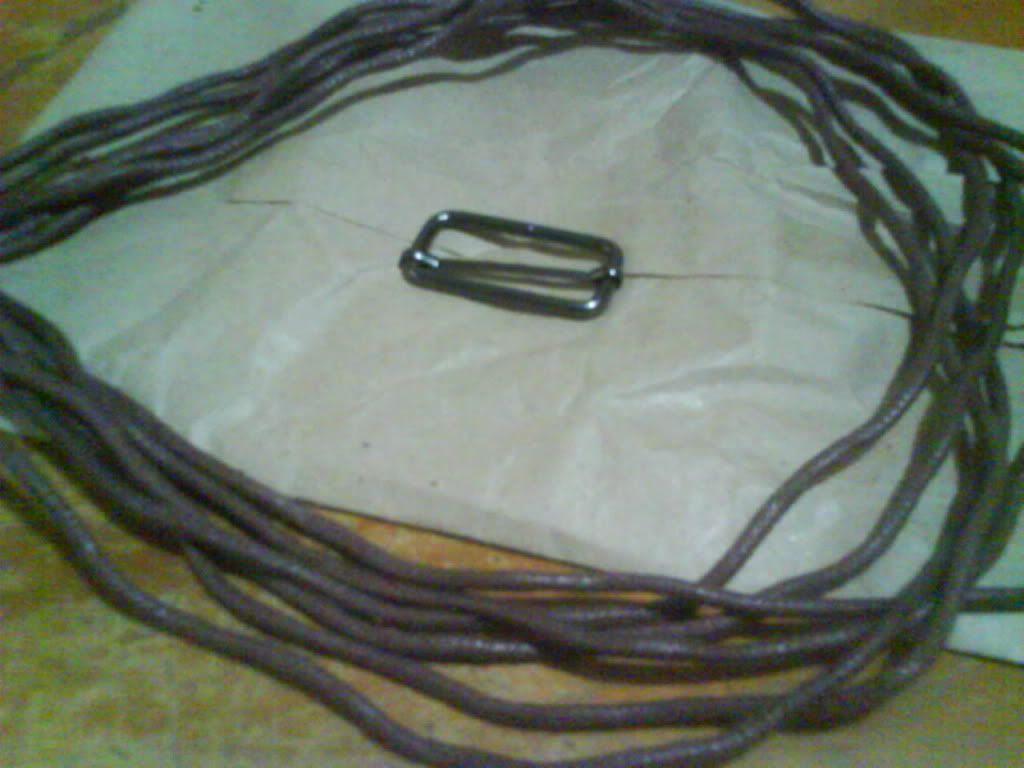
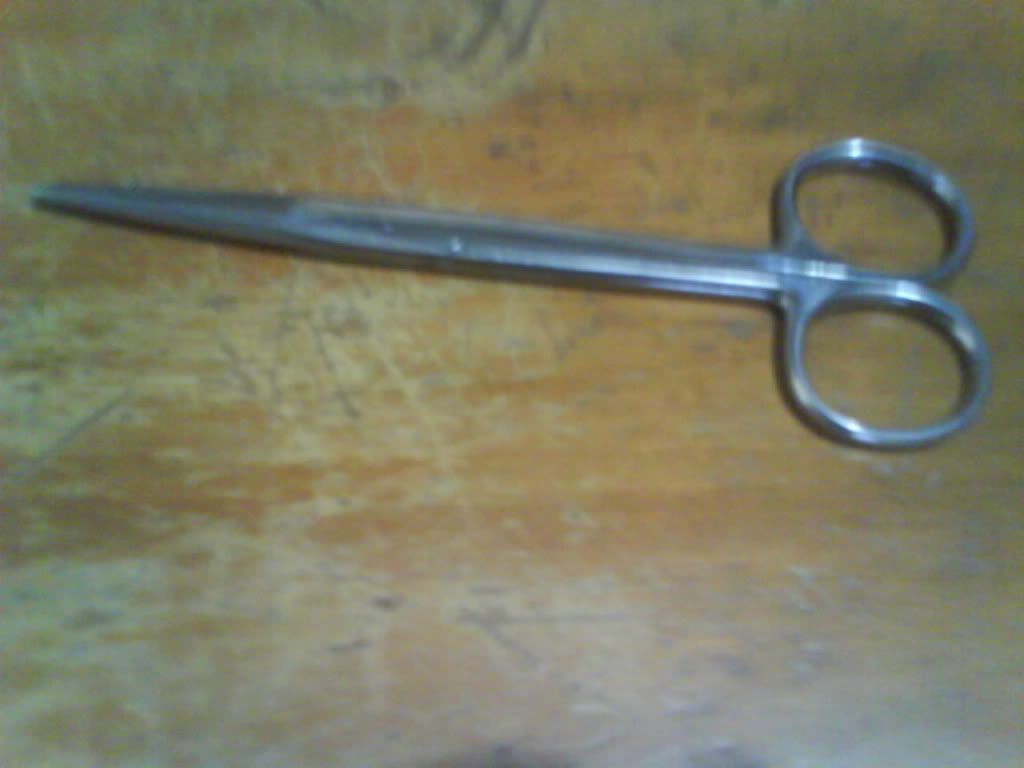
3. A pair of Scissors
4. A transpartent tape (I used plaster instead because I can't find one...tsk)
Now, let's start:
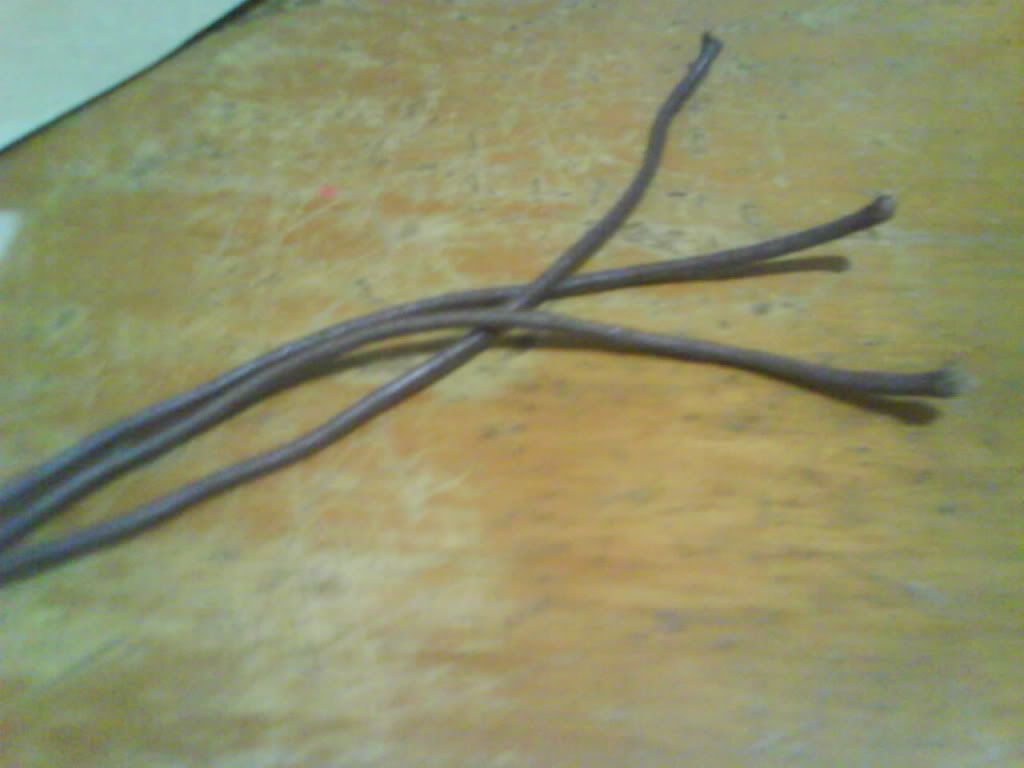
1. First, you need to equally divide your cord into 3. Cut it so to have 3 equal length cords.
2. Then, tie it into your buckle. (Just like how you tie your cord into your id.)
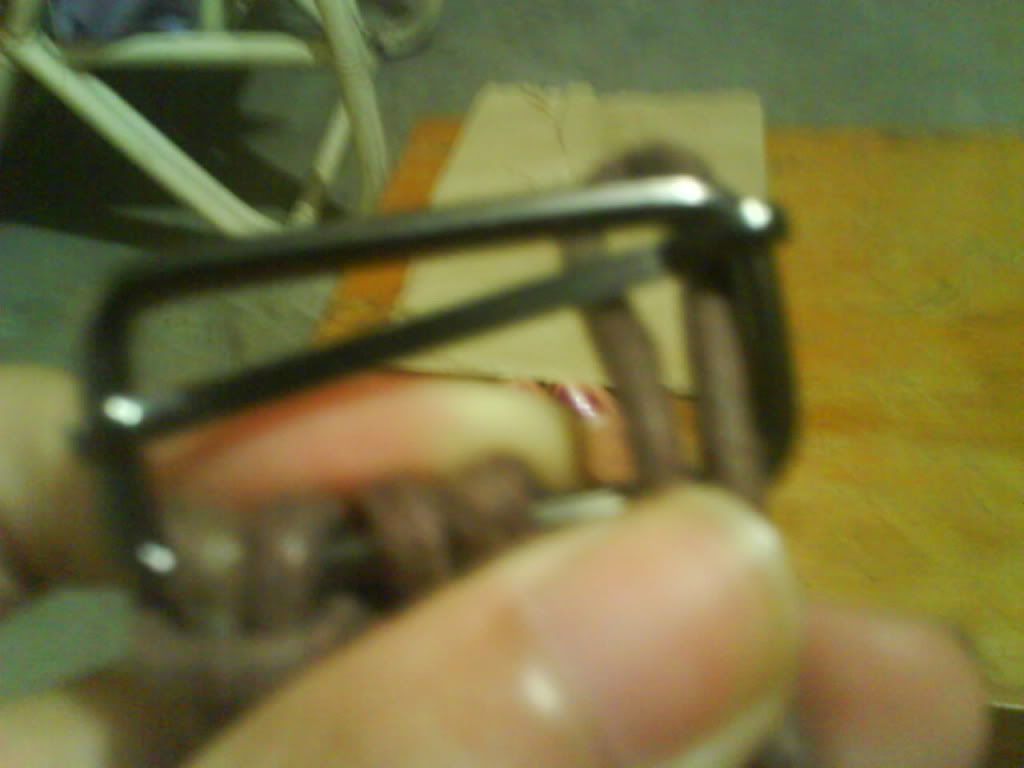
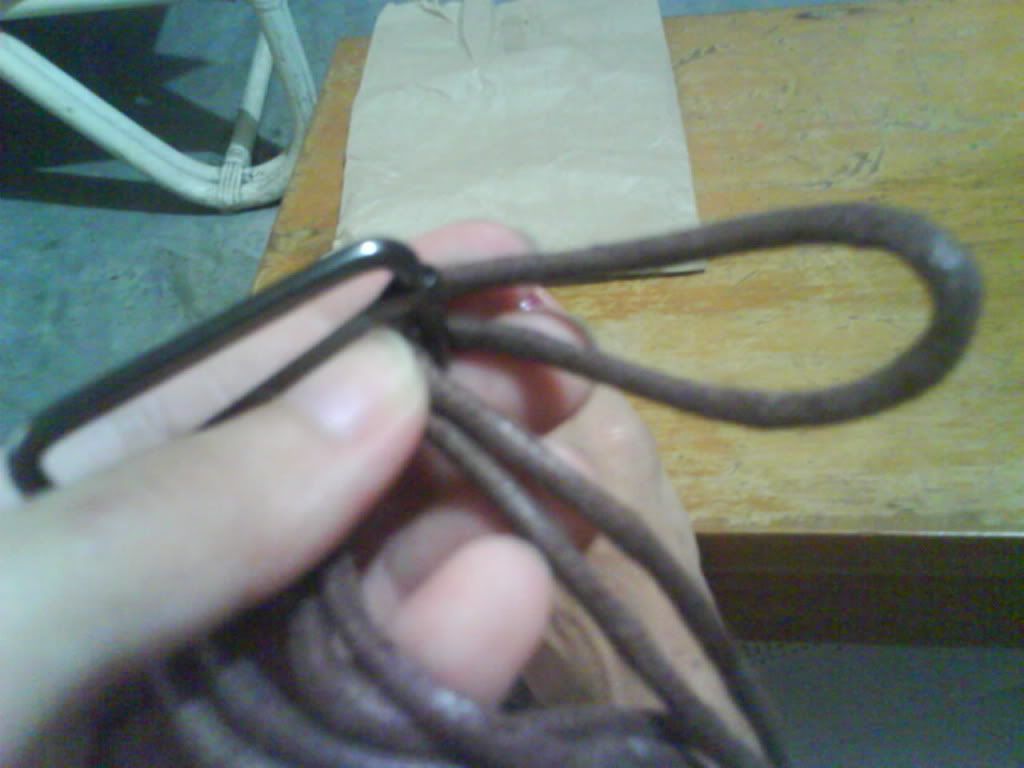
3. After the 3 cords tied up on the buckle, start braiding. (I bet you need no instructions in this part.)
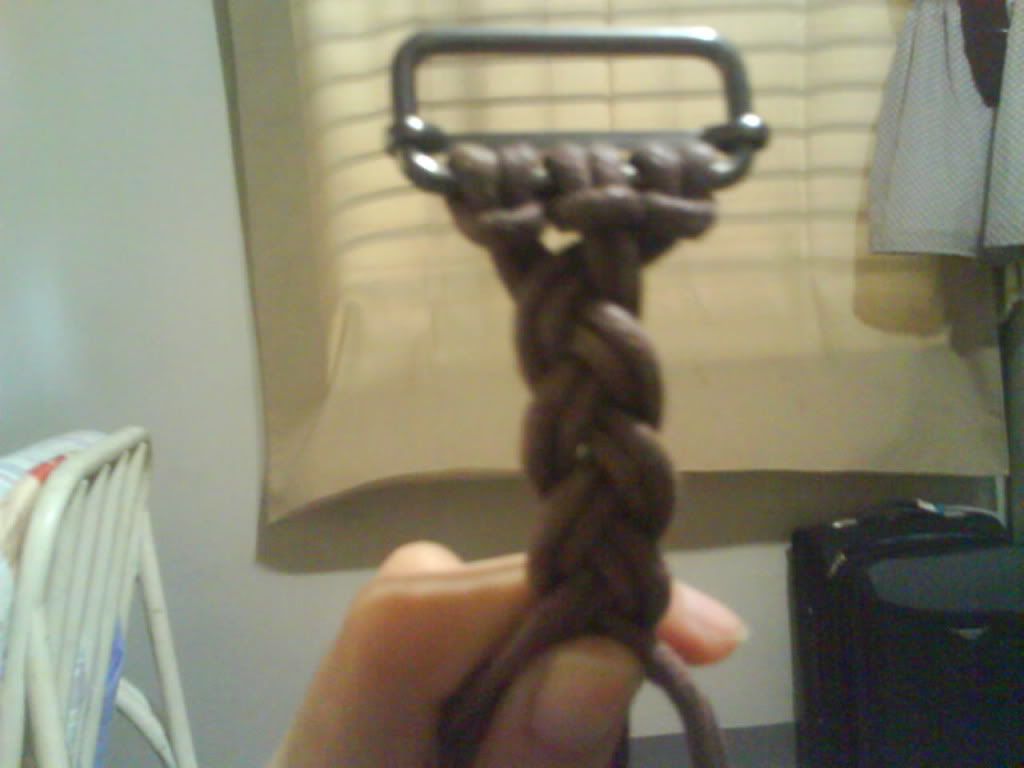
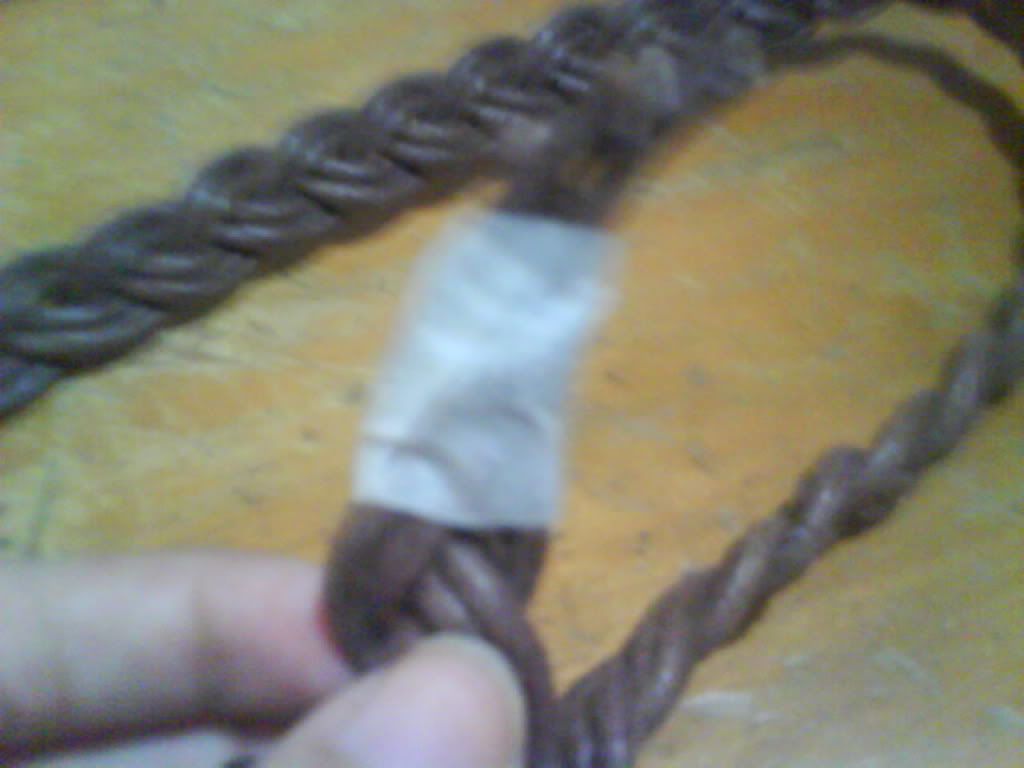
4. Tape the ends, then with a transparent tape. (I apologize for the untidy looking plaster.)
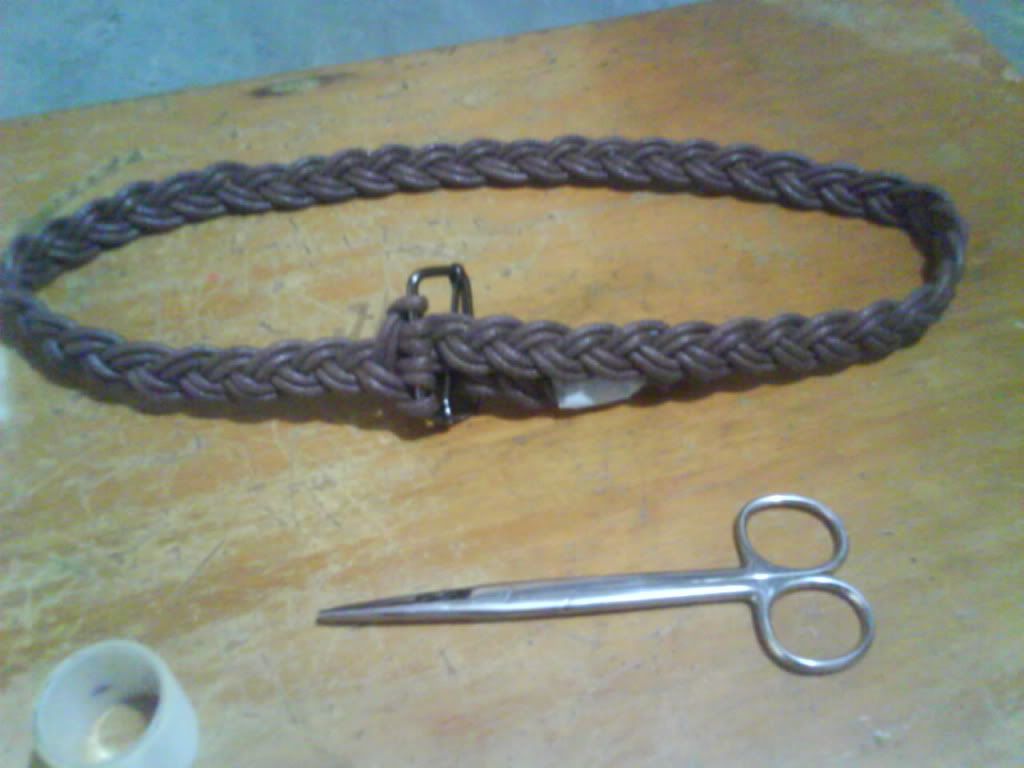
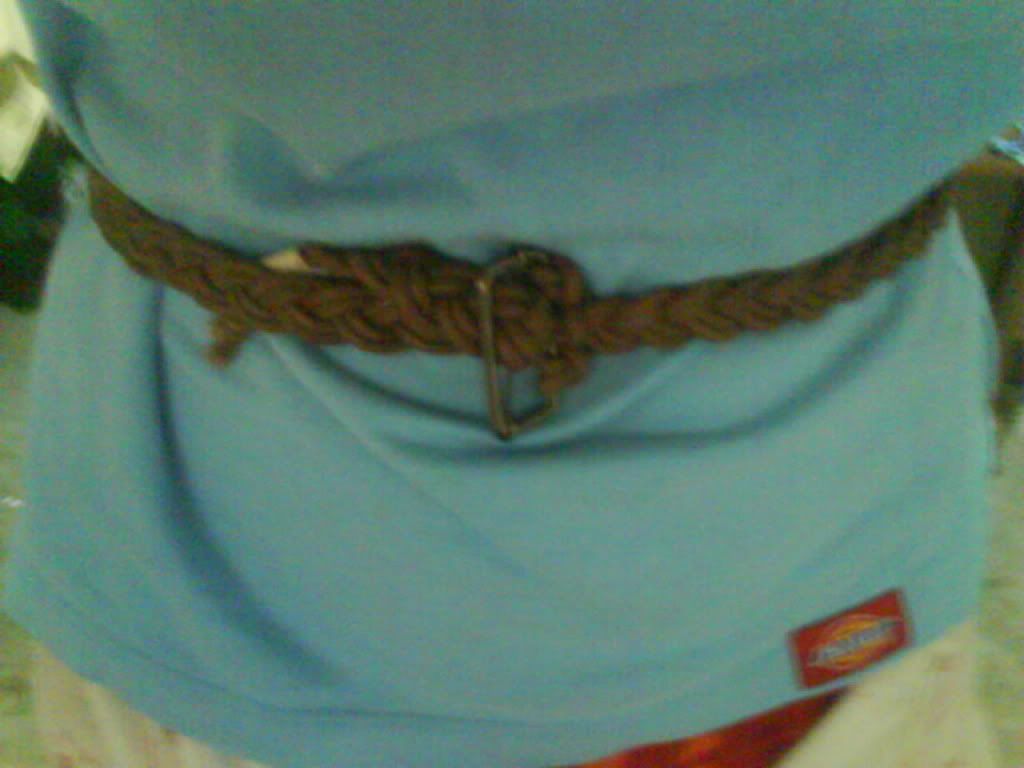
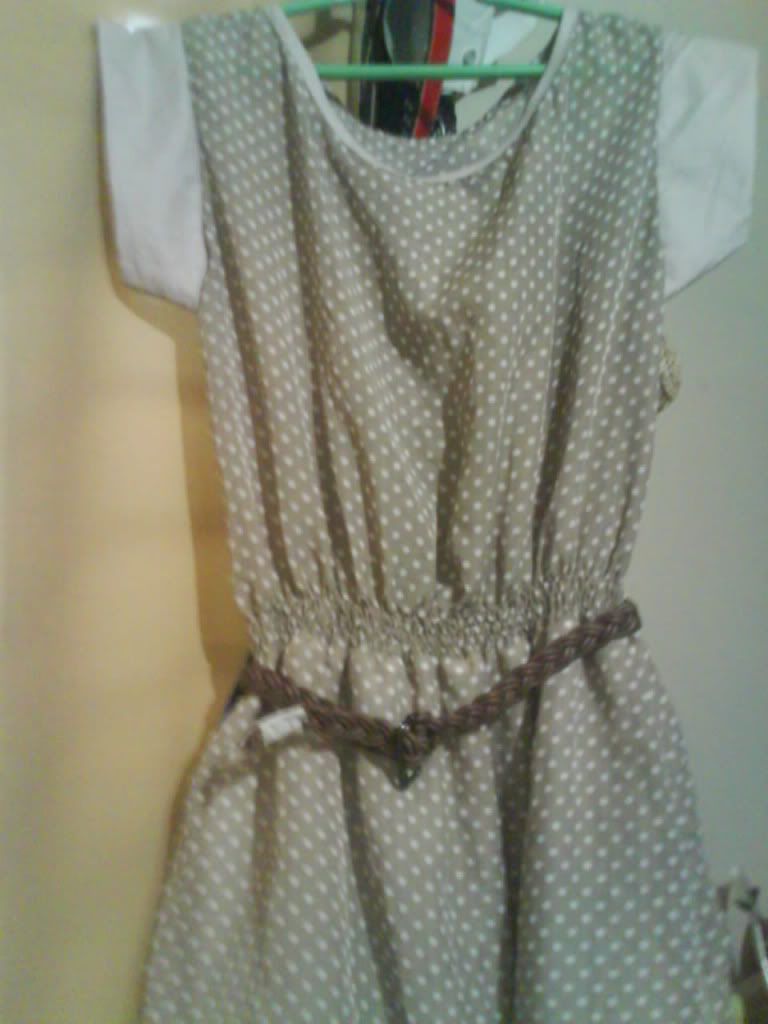
Viola, you're all done. The result would be a high waist belt for the slims like me with the 6-inch-long cord used in this session. But if you prefer longer, you can go for 9-inch-long. Just remember the rule: the length should be divisible by three because you need to divide it equally by three.
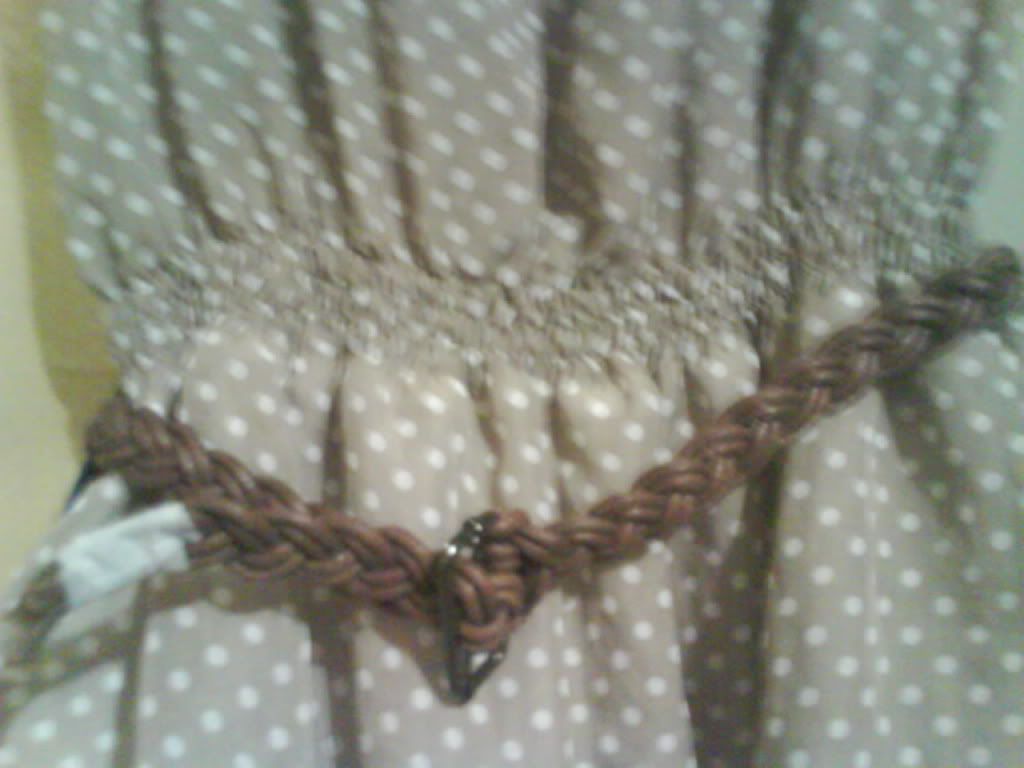


These could complete your high-waist bottoms, scallop shorts, vintage dress or that huge body tunic. But you don't wanna look like a second rate copy cat following the girls out there. So, I got something for you. To have that personal touch, let's have a DIY session. Aren't you excited?
Well, I actually come up with DIYs stuffs during "cant-afford-pieces" times which just only proves that you have no excuse of owning that "cant-afford-piece" when you can actually make one for your own. From a 150php belt it, make one for only 53php.
Now here's what you need"
1. A 6-inches long cord (preferably the thickest). It's similar with the ones used for kidada wraps but just thicker. The cord cost 8.75php (I think.) per meter so multiply it by 6.
2. A buckle costing for 2php only. (I used the one that has no closure. I am not actually familiar with the term.)

3. A pair of Scissors

4. A transpartent tape (I used plaster instead because I can't find one...tsk)
Now, let's start:
1. First, you need to equally divide your cord into 3. Cut it so to have 3 equal length cords.

2. Then, tie it into your buckle. (Just like how you tie your cord into your id.)


3. After the 3 cords tied up on the buckle, start braiding. (I bet you need no instructions in this part.)

4. Tape the ends, then with a transparent tape. (I apologize for the untidy looking plaster.)


Viola, you're all done. The result would be a high waist belt for the slims like me with the 6-inch-long cord used in this session. But if you prefer longer, you can go for 9-inch-long. Just remember the rule: the length should be divisible by three because you need to divide it equally by three.


Categories
accessories,
girls shop savers
Subscribe to:
Posts (Atom)


